
Creating Your First Web App With Vue.js: A Shipping Label Generator
Master web development with Vue.js through a practical example
Introduction to Vue.js
What is Vue.js?
Vue.js is a progressive JavaScript framework for building user interfaces. It’s designed to be incrementally adoptable, making it easy to integrate into existing projects or start new ones.
Why Use Vue.js?
Vue.js offers simplicity, flexibility, and powerful features like component-based architecture, reactive data binding, and a virtual DOM for efficient updates.
Our Project: Labelify
In this tutorial, we’ll create Labelify, a shipping label generator application. This project will help you understand key Vue.js concepts and how to build a real-world web application.
Setting Up Your Vue.js Development Environment
- Install Node.js and npm: Download and install from nodejs.org.
- Install Vue CLI:
npm install -g @vue/cli - Create a new Vue.js project:
vue create labelify cd labelify - Start the development server:
npm run serve
Understanding the Vue.js Project Structure
labelify/
├── node_modules/
├── public/
│   ├── favicon.ico
│   └── index.html
├── src/
│   ├── assets/
│   ├── components/
│   ├── views/
│   ├── App.vue
│   └── main.js
├── .gitignore
├── babel.config.js
├── package.json
└── vue.config.js
Key files and directories:
public/index.html: The main HTML filesrc/main.js: The main JavaScript file that bootstraps the Vue applicationsrc/App.vue: The root Vue componentsrc/components/: Directory for reusable Vue componentssrc/views/: Directory for page-level Vue components
Building the Labelify Application
Step 1: Create the LabelPrinting Component
Create a new file src/components/LabelPrinting.vue:
<template>
  <div class="label-printing">
    <h1>Labelify: Shipping Label Generator</h1>
    <form @submit.prevent="generateLabel">
      <label for="shippingInfo">Enter Shipping Information:</label>
      <textarea
        id="shippingInfo"
        v-model="shippingInfo"
        rows="4"
        cols="50"
        placeholder="E.g., Recipient's Name, Address, Phone Number"
      ></textarea>
      <button type="submit">Generate Label</button>
    </form>
    <div v-if="label" class="label-preview">
      <h2>Generated Label:</h2>
      <pre>{{ label }}</pre>
    </div>
  </div>
</template>

<script>
export default {
  data() {
    return {
      shippingInfo: "",
      label: null,
    };
  },
  methods: {
    generateLabel() {
      // Simple label generation logic
      this.label = `
        ============================
        SHIPPING LABEL
        ============================
        ${this.shippingInfo}
        ============================
      `;
    },
  },
};
</script>

<style scoped>
.label-printing {
  max-width: 600px;
  margin: 0 auto;
}
/* Add more styles as needed */
</style>
Step 2: Update App.vue
Replace the contents of src/App.vue with:
<template>
  <div id="app">
    <LabelPrinting />
  </div>
</template>

<script>
import LabelPrinting from './components/LabelPrinting.vue'

export default {
  name: 'App',
  components: {
    LabelPrinting
  }
}
</script>

<style>
#app {
  font-family: Avenir, Helvetica, Arial, sans-serif;
  -webkit-font-smoothing: antialiased;
  -moz-osx-font-smoothing: grayscale;
  text-align: center;
  color: #2c3e50;
  margin-top: 60px;
}
</style>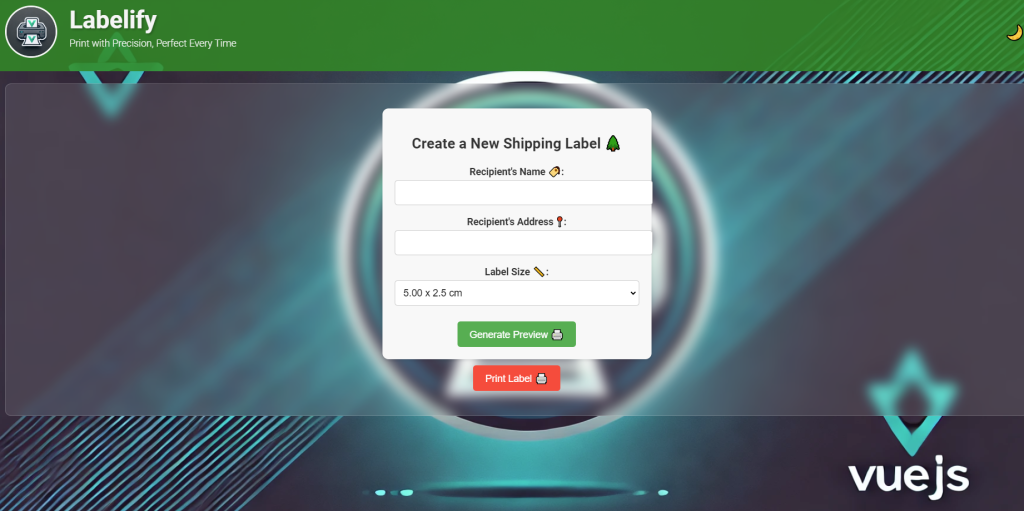
You can clone our existing project from https://github.com/TheITApprentice/Shipment-Label-App-in-VueJS
Vue.js Component Lifecycle
Vue.js components have a lifecycle with several hooks that allow you to run code at specific stages:
- Creation: beforeCreate, created
- Mounting: beforeMount, mounted
- Updating: beforeUpdate, updated
- Destruction: beforeDestroy, destroyed
In our Labelify app, we could use the mounted hook to perform any initialization logic when the component is added to the DOM.
Best Practices for Vue.js Development
- Use Single-File Components (SFCs) to keep template, script, and style in one file.
- Follow the Vue Style Guide for consistent and maintainable code.
- Use props for parent-to-child communication and events for child-to-parent communication.
- Utilize Vuex for state management in larger applications.
- Implement lazy loading for routes to improve performance.
- Use computed properties for derived data instead of complex expressions in templates.
Join Our Community!
🌟 Get exclusive insights and the latest IT tools and scripts, straight to your inbox.
🔒 We respect your privacy. Unsubscribe at any time.